Showing posts with label dessert. Show all posts

Friday, September 7, 2012

Joy the Baker Cookbook - Review


I enjoy reading cookbooks, much like novels. I sit down and leaf from start to finish...then since it is a cookbook I decide what I will prepare from its pages. Joy the Baker's cookbook is much like her blog, funny, indulgent and creative.

When flipping through the cookbook pages I noted loads of delicious looking treats that I practically smell wafting from my oven, but when it came down to it, I let my kids decide and wouldn't you know it - they chose whoopie pies, not your ordinary chocolate cookie-cake with white frosting smothered on the inside...oh no- these were cocoa cookie-cakes with peanut butter on the inside. I am if nothing else, a sucker for peanut butter. And since I don't always love chocolate (I know I'm weird) I certainly had more than a spoonful of the pb filling. YUM!

See those flecks? More chocolate...'cos I'm a rule breaker.
The recipe didn't call for chocolate shavings, but I thought, what the heck?


For more joyful and tasty recipes, cooking tips and loads of laughs, check out Joy the Baker Cookbook and her site. Happy Baking! Oh, and if you make her GF Strawberry Ginger Pie, please report back or really any other recipes she shares or prints. As much as I love to read about food, I think I enjoy talking about it nearly as much and of course there is eating it, that's pretty swell (or sweet) too.

Bon Appetit,
Deirdre

Friday, August 17, 2012

Babycakes II -- Cookbooks

Last week I introduced you all to the wonder that is Babycakes...gluten free, refined- sugar-free, egg-free, vegan, dairy-free kosher and major eye candy. Sometimes literally. I had the opportunity to visit while I was in Orlando and yes, it lived up to my expectations and more. Of course, I'd been baking Babycakes for a fair while before enjoying a bakery bought delight, but it was fun to go to the store front in person.


Source: google.com via Amy on Pinterest

Erin McKenna, is the adorable entrepreneur, mama, gluten-sensitive and extraordinary woman is the brains and baker behind this operation. Her first cookbook, Babycakes, kept me semi-distracted and comforted as I awaited my daughter to emerge from surgery several years ago. When we returned home I whipped up some cookies for her as she recovered, knowing I was offering not only a special treat, but also devoid of some of the nasties that have crept into conventional baking products.

After the release the second cookbook, Babycakes Covers the Classics, I revisted both of the cookbooks in a mad-baking spree (reminiscent of how the whole thing got started, as you'll read in Erin's introduction, but without all of the trial and error.)

So...you'll have to get ahold of one or both of these cookbooks for yourself, but I promise, if you follow the recipe to the letter, you will enjoy special occassion treats that can pretty much cover anyone and everyone's particular dietary needs- that is something worth celebrating!


This is gingerbread. This is delicious.


And it's gone.


Snickerdoodles- all rolled up and almost ready to go!


See that flattening action! That is how it is done!


Into the oven they go and oh my cinnamon sugar does it smell good!


See? Perfection. And like I said, gluten free, refined- sugar-free, egg-free, vegan, dairy-free kosher and major eye candy.

You can bake your own, order baking kits from the store, an apron (hint, hint, wink, wink, check out the blog and more fun for everyone!

Bon Appetit,
Deirdre


Wednesday, August 15, 2012

WIAW - Garden Bounty


What is this What I Ate Wednesday? Check out Peas & Crayons for a full description, but the least of what you need to know is that it is blog link up to share recipes, meal ideas and inspiration! It's food, food, food and fun!

This is our 8th round of WIAW and we're going strong! The theme this month is Summer Staples so read on for more about the bounty of my garden.

Okay...so breakfast is the same as ever...Ezekiel, Blueberry, Banana, Coconut & Almond Milk and some Omegas...healthy and delish. See previous posts for image.

Like Tamar's container gardening adventure our family garden is bringing us treasures galore: zucchini, squash, cucumbers, kale, hot peppers, green beans and herbs such as basil, cilantro, sage, dill, rosemary and mint. Our tomatoes are transitioning from green to light yellow, the pumpkins are following their own circuitous route out into the grass and we're unsure what the sweet peppers have planned for their future, but all in all it is a pleasure to eat our own-grown-food.


I've been using an ample amount of cilantro and now as the basil and tomatoes ready themselves for eating I see a caprese salad or bruschetta nouveau in my near future. So many bloggers are featuring delicious recipes to pair the bounty of the garden that I couldn't help myself- I have to try as many as I can while I have the fresh produce to do so. For lunch today...I did a sort of inside out version of Angela from Oh She Glows Pretty in the Pan Patypan Stuffed Squash recipe. Instead of stuffing it, I just peeled, sliced and tossed it in with the rice, beans and veggies. It was so good...as much as I love my baked goods (e.g. Babycakes) eating fresh and healthy fuels my brain in a really sound way.


For an afternoon snack the kids and I shredded up one of our monster zucchini from the garden and prepared Jenn from Peas and Crayon's Fluffy, Flax, Fruit and Zucchini Bread, it was hands down the best zucchini bread I've ever had and healthy to boot. No added oils, very little sugar and I mixed it up with spelt and oat flour.


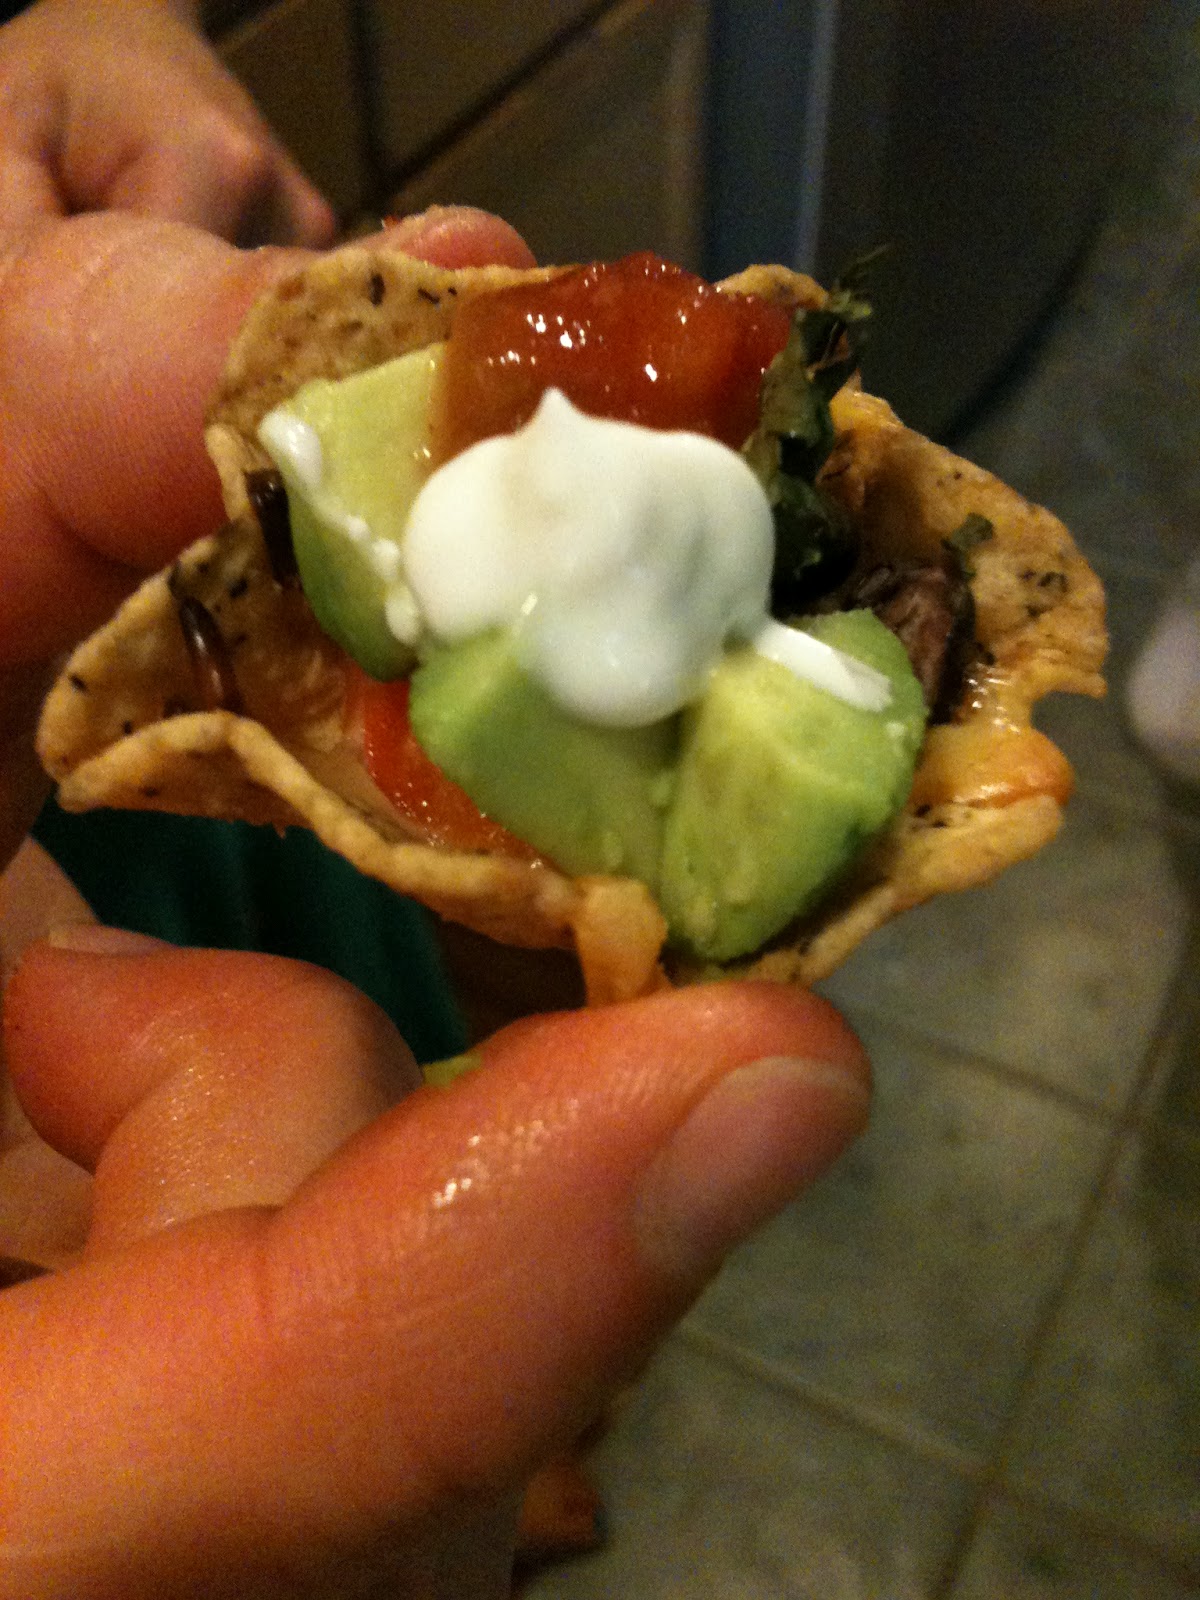
For dinner my daughter was having a friend sleep over so I wanted to make something fun and tasty...mini nacho scoops...with fresh from the garden cilantro.


For these I spread the chips out on the pan, put a teaspoonful of black beans in the bottom of each scoop, added a few bits of diced red pepper, some olives, a sprinkling of cheese and some of the cilantro above. Bake until the cheese is melted and voila. I served with sour cream, salsa and avocado (a STAPLE in our house) and heard happy munching and crunching at the kids table.


The perfect bite sized individual nacho...


And for dessert...because when we have guests we have dessert...I whipped up a batch of Oreo cookie cookies. Yes, I did mean to write that twice. It is a cookie with Oreo cookies baked within. WAH? Yeah, that's right. Here's how it goes...


Oreo Cookie Cookies
by Deirdre
Prep Time: 10-15 Minutes
Cook Time: 10-14 Minutes
Keywords: bake dessert cookie
6028901
Ingredients (12 Large)

Dry
  • 2 cups flour
  • 1/2 tsp baking soda
  • 1/4 tsp salt
  • 3/4 cup packed brown sugar
  • 1/4 cup white sugar
  • 10 oreos
Wet
  • 3/4 cup butter
  • 1 egg
  • 1 tsp vanilla
Instructions
Preheat oven to 350.

In one bowl mix dry ingredients well.

Place oreos in a plastic bag, release air, seal, cover with kitchen towel and then roll with a rolling pin until crushed.

Add to dry ingredients.

Mix in wet ingredients.

Dough may be crumbly, but the fun part is forming them into 12 large cookies.

Bake for 10-14 minutes.
Powered by Recipage


And the cool the cool thing is this recipe (and the dry ingredients) were the goodie bag item from a recent birthday party my daughter went to...indulgent? Yes. Plastic things I will end up throwing out soon? No. A fun activity for my kids and I to do together? Yes. Win goes to mom-family genius for coming up with this. Thank you!

Hoping you all have enjoy these dwindling (sob, sniff, sob) days of summer and please do share any tasty garden items you've been growing, cooking and eating.

Bon Appetit,
Deirdre
Wednesday, August 1, 2012

Banana "Soft Serve" with Mix-Ins

These are mini bananas.
And I just think they're cute.
For the following recipe ordinary bananas are preferred.
You may have noticed I am on a hot (or cold) streak these last few Fridays with chilled-out, mellow, summer treats:
And I will keep at it as long as I have sunny summer days...okay, well I probably will mix it up a bit, but I have one more cool and refreshing treat to share and this one wears a cloak of "health food." That is, you can convince yourself that what you're eating is good for you, provides essential nutrients and can be enjoyed more than once a day. Wink.

I first came across banana "soft-serve" during a bleary, late night blog reading marathon. Does anyone else do that? Does that make me a dork? Or super cool? Well, I'm at the age where I don't care much, but I do so deeply appreciate the impact the blog world has had on my life. I've encountered amazing people, with amazing talents, food, crafts, fashion and more and have in many ways been invited to think more deeply about my own life. The best of the best really. But I digress, back to the soft-serve.

When I first found this recipe it wasn't described as such, but more along the lines of look what happens if you toss frozen bananas into a food processor (and if I could possibly retrace my steps and stumble upon that blog post again and give credit, I would...but unfortunately my dog tired brain simply can't remember where I saw it. So if you happen to know that you posted about a particularly delicious frozen banana treat months ago, KUDOS!)

Anyway, it really is like MAGIC, the alchemy that happens when you:

1. Get yourself a bunch of bananas. The riper the better.

2. Peel and slice into coins.


3. Place them on a cookie sheet to freeze.

4. Taking about a third of the total place them in your food processor (careful to head the fill line. If you have a smaller unit you may have to do this in several batches.)

5. Pulse until the bananas resemble coarse crumbs.

6. Add more frozen banana coins.

7. Repeat...

8. Add some more.

9. Repeat...

10. Then pulse/mix until a creamy, luscious ice cream like texture is achieved.
At this point I often just go for it and have a bowl, sharing with my family of course, but you can also scoop it out of your food processor and freeze in a container until you're ready to enjoy.

Also, my most favorite way to enjoy my banana soft serve is to warm up a tablespoon of Cookie Butter, yeah that's right, and drizzle it over the top. Nom, nom, nom.


Other delicious mix-in ideas, to be added either during the processing, before freezing or whenever you are ready to indulge include:

  • Your favorite nut butter. Like Elvis, I love the peanut butter and banana combo.
  • Berries
  • A tropical number: pineapple tidbits, coconut and perhaps a bit of chocolate.
  • Walnuts and caramel.
  • Oreos or another cookie (this is often a good way to make use of any crumbs you have left over.
  • Or class it up with lavender and honey.
  • I've also added a bit of coconut milk/cream during the processing and if you aren't a banana lover, this mellows the banana flavor.
If you have any other toppings that you've tried or would like to recommend, please do so in the comments below.

Bon Appetit,


Deirdre

Friday, July 27, 2012

Chocolate Chip Cookie Dough & Peanut Butter Chillers


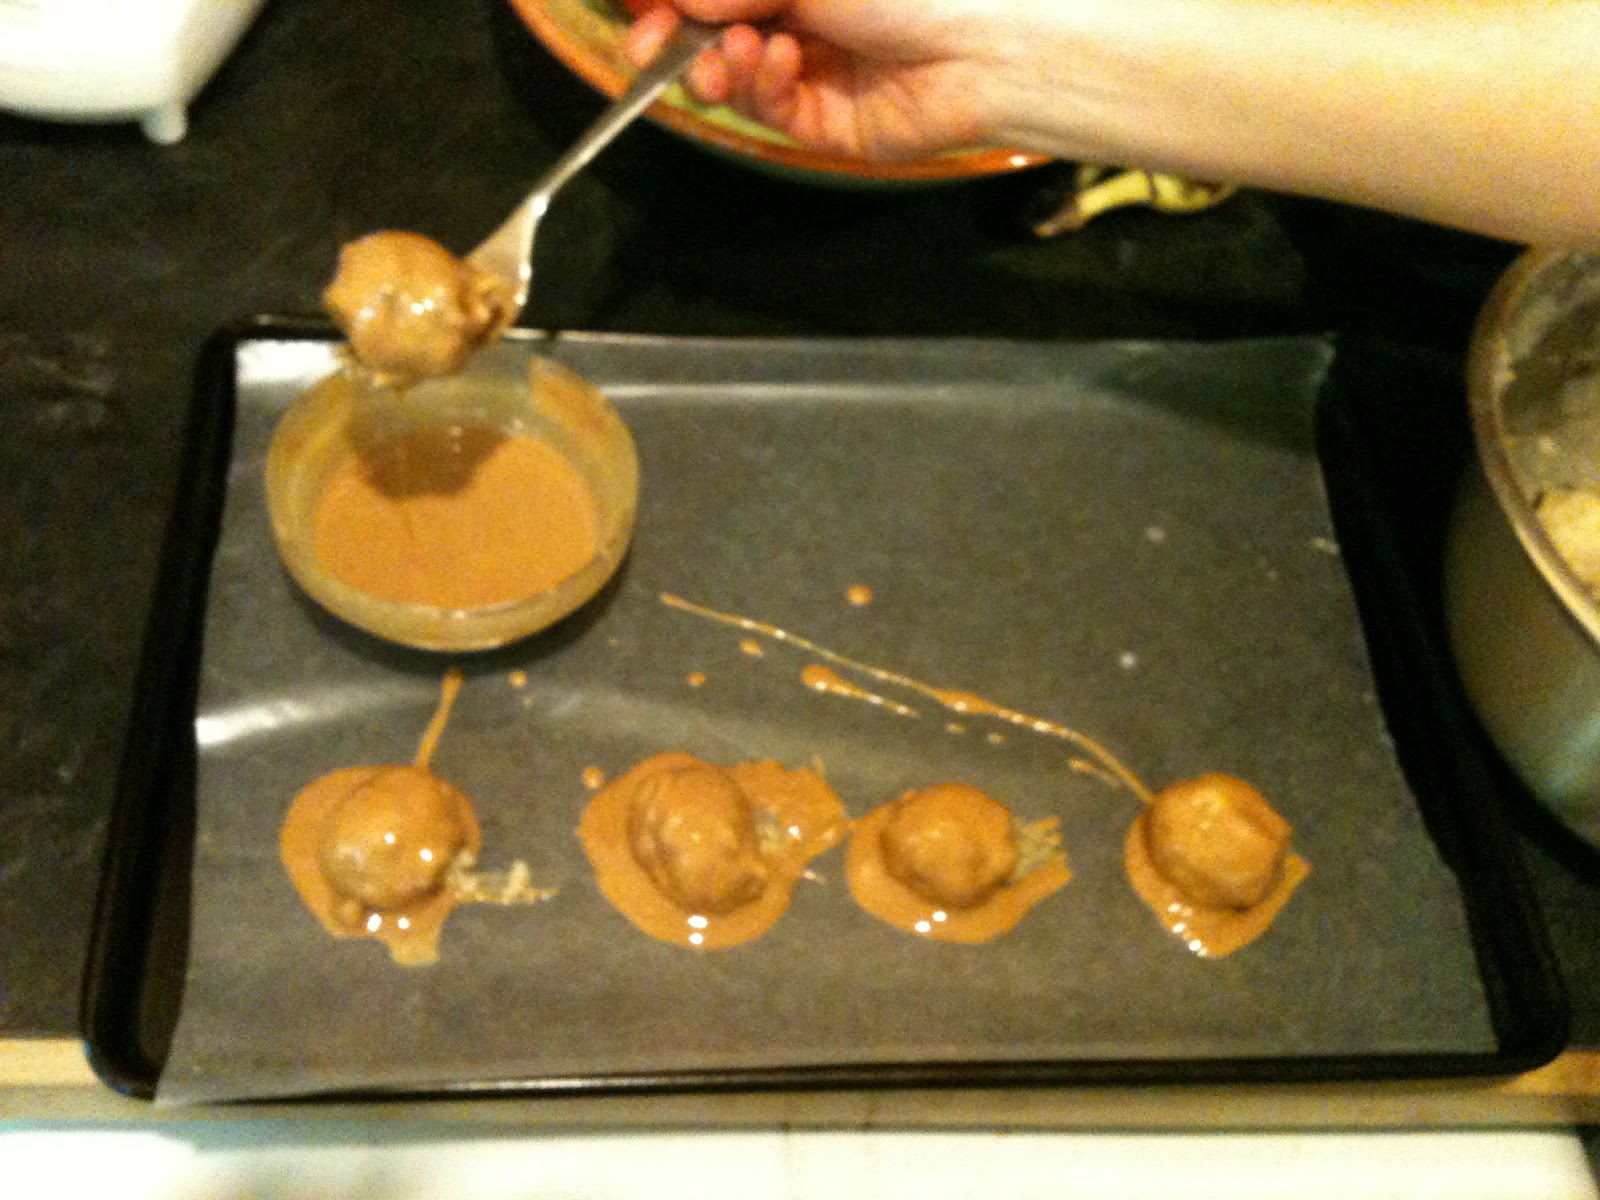
These inside outside-upside-downside chocolate chip cookie dough and peanut butter dip chillers came to me as an inspiration on a warm summer day when ice cream was requested, but the freezer was (gasp!) empty.

When I was a kid I would eat cookie dough by the roll. You know the roll I am referring to. The blue one with the cute and seductive rolly-polly little fella on the package that practically shouted, "Eat Me!" and not in a snarky thirteen year old way. But in a just disregard the warning for salmonella written in itty bitty writing and have a taste of raw cookie dough. Only it wouldn't stop at just a taste and would result in half the roll sitting in my then queasy belly.

I've grown up and heed those warnings to avoid raw eggs, but I still love cookie dough and have found some great egg-free cookie dough recipes. I often use egg replacer or a flax egg. My family shares my fondness for all things cookie: raw or cooked and so we often bake up a batch, but when it's hot out the oven is the last thing you want to crank up to 350 degrees.

When there is no ice cream, Popsicles or any other manner of refreshing sweet, you invent...and here I married cookie dough and another of my family favorites: peanut butter.

Inside..

Outside...


Upside-down-side


Chocolate Chip Cookie Dough & Peanut Butter Chillers
by Deirdre
Prep Time: 15 mins
Cook Time: 1 Hour Chill time plus Freezer


Ingredients (1 dozen)
  • Cookies:
  • 3/4 cups butter or butter alt
  • 3/4 cups powdered sugar
  • 1/4 cup granulated/cane sugar
  • 1/2 tsp salt
  • 1 tsp baking powder
  • 1/2 tsp baking soda
  • 1 tsp vanilla
  • 1 cup all purpose flour
  • 1/2 cup wholewheat pastry flour
  • scant 1/2 cup milkor milk alt
  • 1/2 cup chocolate chips
  • PB Shell:
  • 3 tbsp butter or butter alt ( I hear coconut oil works well, but haven't tried)
  • 1/3 cup peanut butter
  • I've made these several times and want to caution to bite carefully! Don't break a tooth!

Instructions
1. Bring butter (or butter alternative like earth balance margarine) to room temp or warm for thirty seconds. Using an electric mixer incorporate sugars and butter. Then add vanilla and mix it up, scrapping down the sides.
2. Add baking soda and powder and salt. Mix well.
3. Add flours then slowly mix in milk (or milk alternative like almond milk) in thirds until mixture comes together to form a dough. I found that just a hair under a 1/2 cup was ideal.
4. Add chips and mix.
5. Put bowl in refrigerator for 15-30 minutes to chill.
6. Toward the end of that time prepare a cookie sheet with waxed paper. And measure out peanut butter and butter and set aside in a microwave safe bowl or in a small saucepan.
7. Roll a generous tablespoon of dough into a ball using hands until all dough is used.
8. Warm peanut butter and butter (I found about 45 seconds to a minute in the microwave worked.
9. Working quickly (use a fork) dip balls in pb&butter mixture and set on waxed paper atop cookie sheet.
10. Place in freezer to set for at least a 1/2 hour. Remove and enjoy- quickly! Or keep in a sealed container in the freezer for a couple weeks.

*the cookie dough is a variation on several vegan cookie dough recipes I've found, combined and adapted but you can use your favorite.

Powered by Recipage


Bon Appetit!
Deirdre

P.S. I'll say it again (mostly because I'm a mom and we say these kinds of things) bite carefully! I am not responsible for your teeth!

Friday, June 22, 2012

Gone Bananas Monkey Bread

We are a household of banana eaters, one or more a day for each of us, so when I scored half a case of organic-fair trade bananas for $3 I jumped up and down like a happy monkey.


But what to do with that many bananas? We made smoothies, breads, pancakes, ate them straight-up, froze some and made a few batches of banana soft-serve. Look for that recipe here soon! But there were still so many and they were in danger of passing their peak.

We checked out 100 banana recipes here, but wanted to come up with 101.
So my little monkeys and I strapped on our thinking caps and came up with Gone Bananas Monkey Bread.

Here is how it went...Scroll all the way down for a printable version of the Cook's Illustrated recipe we adapted a bit.


Ingredients assembled.


Add yeast to water, milk and butter mixture...for a truly tropical taste, I used coconut milk and let it do it's thing.


Meanwhile measure flour and salt. Mix.


Combine wet and dry.

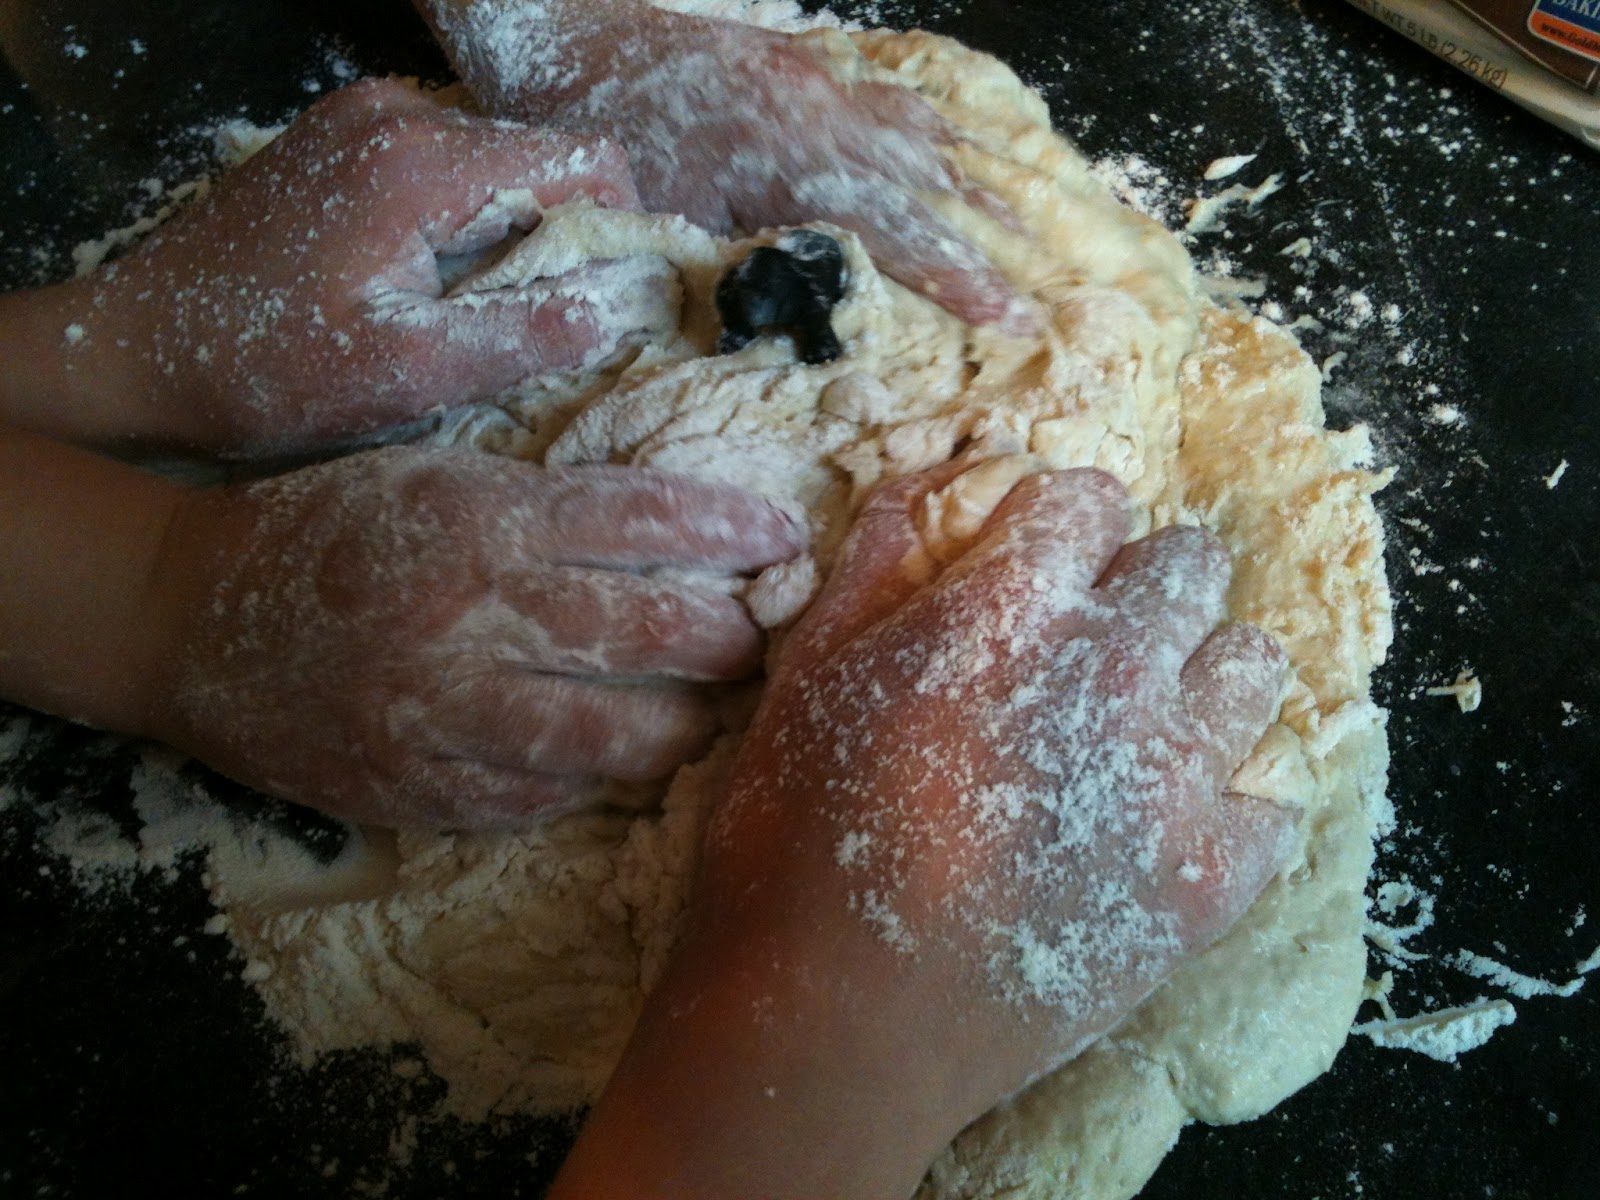
Knead away.


Cover with plastic wrap or a damp towel and let rise.


Meanwhile mash a couple bananas and let 'em ripen some more.

Assemble ingredients for dipping sauce, including ripened bananas, melted coconut butter, brown sugar and a sprinkle of cinnamon.


When dough is done rising roll pieces into one inch balls, dip, coating thoroughly and place in greased pan.


Sprinkle with coconut and nuts (if desired.)


Bake, cool and...


Glaze...


 Then enjoy!!!


Gone Bananas Monkey Bread
by Deirdre
Prep Time: Approx.2 1/2 hours (rise time)
Cook Time: 35 minutes
Ingredients (Serves 4 gorillas or 8-12 Capuchins)
  • For Bread:
  • 1 cup of coconut milk (or regular milk - warmed to about 100 degrees F)
  • 1/3 cup of water (warmed to about 100 degrees F)
  • 4 tbsp coconut butter or regular butter -- melted
  • 2 1/2 tsp yeast (or one packet)
  • 1/4 cup granulated sugar
  • 4 cups all purpose unbleached flour (plus more for kneading)
  • 1 tsp salt

  • 1 cup shredded coconut
  • 1 cup walnuts or macadamia nuts Optional
  • Spray or butter for greasing pan

  • Dipping Sauce For Bread:
  • 1/2 cup coconut butter or regular butter (or blend) -- melted
  • 2 very ripe bananas - mashed
  • 1/4 cup brown sugar
  • a few sprinkles of cinnamon

  • For Glaze:
  • 1/2 cup confectioners sugar
  • 1 tbsp coconut milk
  • 1/4 cup shredded coconut
Instructions
In a glass measuring cup eat milk and water to about 100 degrees F (in microwave or if using stove top use a pan.) Melt butter and add to mixture. Be sure temperature isn't over 110 F.

Add sugar and yeast to mixture. Stir and let it do it's thing for 5 to 10 minutes.
Meanwhile in a large bowl (or if you're lucky enough to have a stand mixer in it's bowl) mix flour and salt.

Then form a well in the flour and combine the two with a wooden spoon until somewhat stiff and incorporated. Mix with a stand mixer or if kneading be sure to add flour to keep the dough from sticking. Knead for about 7 minutes or until a soft and smooth dough forms.

Place in a greased bowl, cover with plastic wrap or a warm clean towel and let it rise in a draft free place for about 1 hour.

Remove from bowl, break pieces into bite sized balls (approx 1 inch diameter) dip each in dipping sauce and place in greased bundt pan (or similar pan) overlapping each ball so a nice dense bread/cake is formed all the while sprinkling coconut and nuts if desired into crevices.

Cover like before and let rise 1 more hour.

Then bake in an oven preheated to 350 F for about 30-35 minutes or until golden.

Allow to cool in the pan for about 5 minutes, Turn out onto a platter and allow to cool another 10 minutes.

Meanwhile combine glaze ingredients and mix up then pour over the top, serve warm and enjoy!
Powered by Recipage

 From my monkeys to yours-
Bon Appetit,
Deirdre


Tuesday, June 19, 2012

WIAW -- Deirdre Eats...


I can't believe it's Wednesday again! Mid-way through June, whew! Time is flying by...Alternating weeks, Tamar and I participate in What I Ate Wednesday hosted by Jenn from Peas & Crayons. If you like to be inspired, see how other people mix, match and make it through the day with food as their companion check in here and on Peas & Crayons for an eyeful of yummy goodness.

If you've been following us for a while you'll see my breakfast staple in my food diary never varies (okay, rarely varies and only to the extent of fresh or frozen blueberries and if I don't have a banana (gasp!) I will slice up a pear, apple or whatever fruit I've got that is ripe.)

Here is my fabulous and favorite breakfast to get me going everyday:


And don't worry- I don't eat the plant, it just makes me think I'm in the tropics along with that almond-coconut milk blend. So what I've got there is Ezekiel cereal, blueberries, bananas, alt-milk and a splash of flax-oil for me brain. (It has those essential omegas.)

After breakfast I did an hour long yoga practice with Elena Brower on Yogaglo who has the most calming effect on me. I adore her. I am a yoga instructor, but I really enjoy shutting off that part of my brain and just tuning into someone else's instruction.

Then I take a seat at my desk and write, write, write about...you guessed it FOOD!

For lunch I had a bowl of Creamy Broccoli Soup. It was leftover from dinner and I topped it with onion straws and a sprinkle of cheese.

Creamy Broccoli Soup


by Deirdre
Prep Time: 10 Minutes
Cook Time: 30 Minutes or so
Ingredients (4 Servings)
  • 1 medium onion
  • 3 cloves of garlic
  • 1/4 cup of butter or butter-alt
  • 1/4 cup flour
  • 4 carrots- peeled and sliced
  • 2 broccoli crowns - sliced
  • Optional: any other veggies you have on hand that need to be used (corn, potatoes, peppers, celery, etc.)
  • 4 cups of milk or milk-alt
  • 2 cups of water
  • 1-2 cups of cheese
  • Optional: onion straws

Instructions
In a large soup pot melt butter over medium heat.
Stir in onions and cook until translucent (about 5 minutes)
Stir in garlic and cook (about 2 minutes more)
Add flour and stir until it forms a paste.
Heat milk until luke warm (I use the microwave)
Add milk 1/2 cup at a time allowing mixture to thicken
Add veggies
Heat water until luke warm (or get warm from the tap)
Add water 1/2 cup at a time allowing to thicken.
Cook until veggies are soft (about 10-15 minutes)
Remove from heat.
Use an immersion blender to blend soup (or use a blender *but blitz in small batches...hot liquid and the blender can cause a big hot blow up!)
Add cheese
Ladle and top with some more cheese and or onion straws and a sprinkle of pepper.
Enjoy!
Powered by Recipage


The afternoon called for a pick-me-up so my girls and I baked Banana Snacking Cake from Nicole of Local Sugar Hawaii (one of my favorite blogs written by a lovely gal who has a real way with words.) We made a few modifications to her original recipe. It was moist and the coconut topping gave it added sparkle. I require added sparkle as frequently as possible, especially in the afternoon, I tend to get slumpy.

*The changes I made: added 1 tsp vanilla, 1/2 cup brown sugar, upped the buttermilk to about 3/4 cup (just added until it looked more moist) used Ener-g egg replacer instead of eggs and for the first half hour of baking I covered with foil, then removed for the last 10 minutes.

Dinner came a while later and I prepared a variation of Simple Summer Spaghetti from the Better Homes and Gardens June 2012 issue.


*My changes: I used cellentani - corkscrew pasta, added white beans, regular tomato instead of grape tomatoes and I added summer squash as well.


And for dessert: my very own container of So Delicious...and Yes- I did eat it right out of the carton, it was after all mine!


Happy Summer- hope you get your hands on your very own container of your favorite cold and creamy summer treat!

Bon Appetit,
Deirdre