Showing posts with label Recipe. Show all posts

Tuesday, September 25, 2012

Greens with Kick

As promised...

Tamar's Collard Greens with Turkey Bacon

Gather:
 
2 lbs Collard Greens or Kale, washed and cut into 1/2 inch strips

6  slices Trader Joe's Uncured Turkey Bacon, cut into 1-inch pieces
 
 
1 Tbs Garlic-Giner paste (or use fresh minced portions of each)
 
Coconut oil (for tossing)
 
Low-Sodium Soy Sauce, to taste
 
Chilli sauce/paste, to taste 

 
Then:
 
 Place greens in a large pot. Boil a kettle of water and pour over greens, 
let stand (poking & tossing occasionally) for 5-10 minutes.


Meanwhile, fry up bacon in a pan until crispy.
 

Drain water 
(feel free to save this vitamin packed water in a jar for making soup stock later!)
 Place greens and bacon in a bowl, toss with remaining ingredients.
 

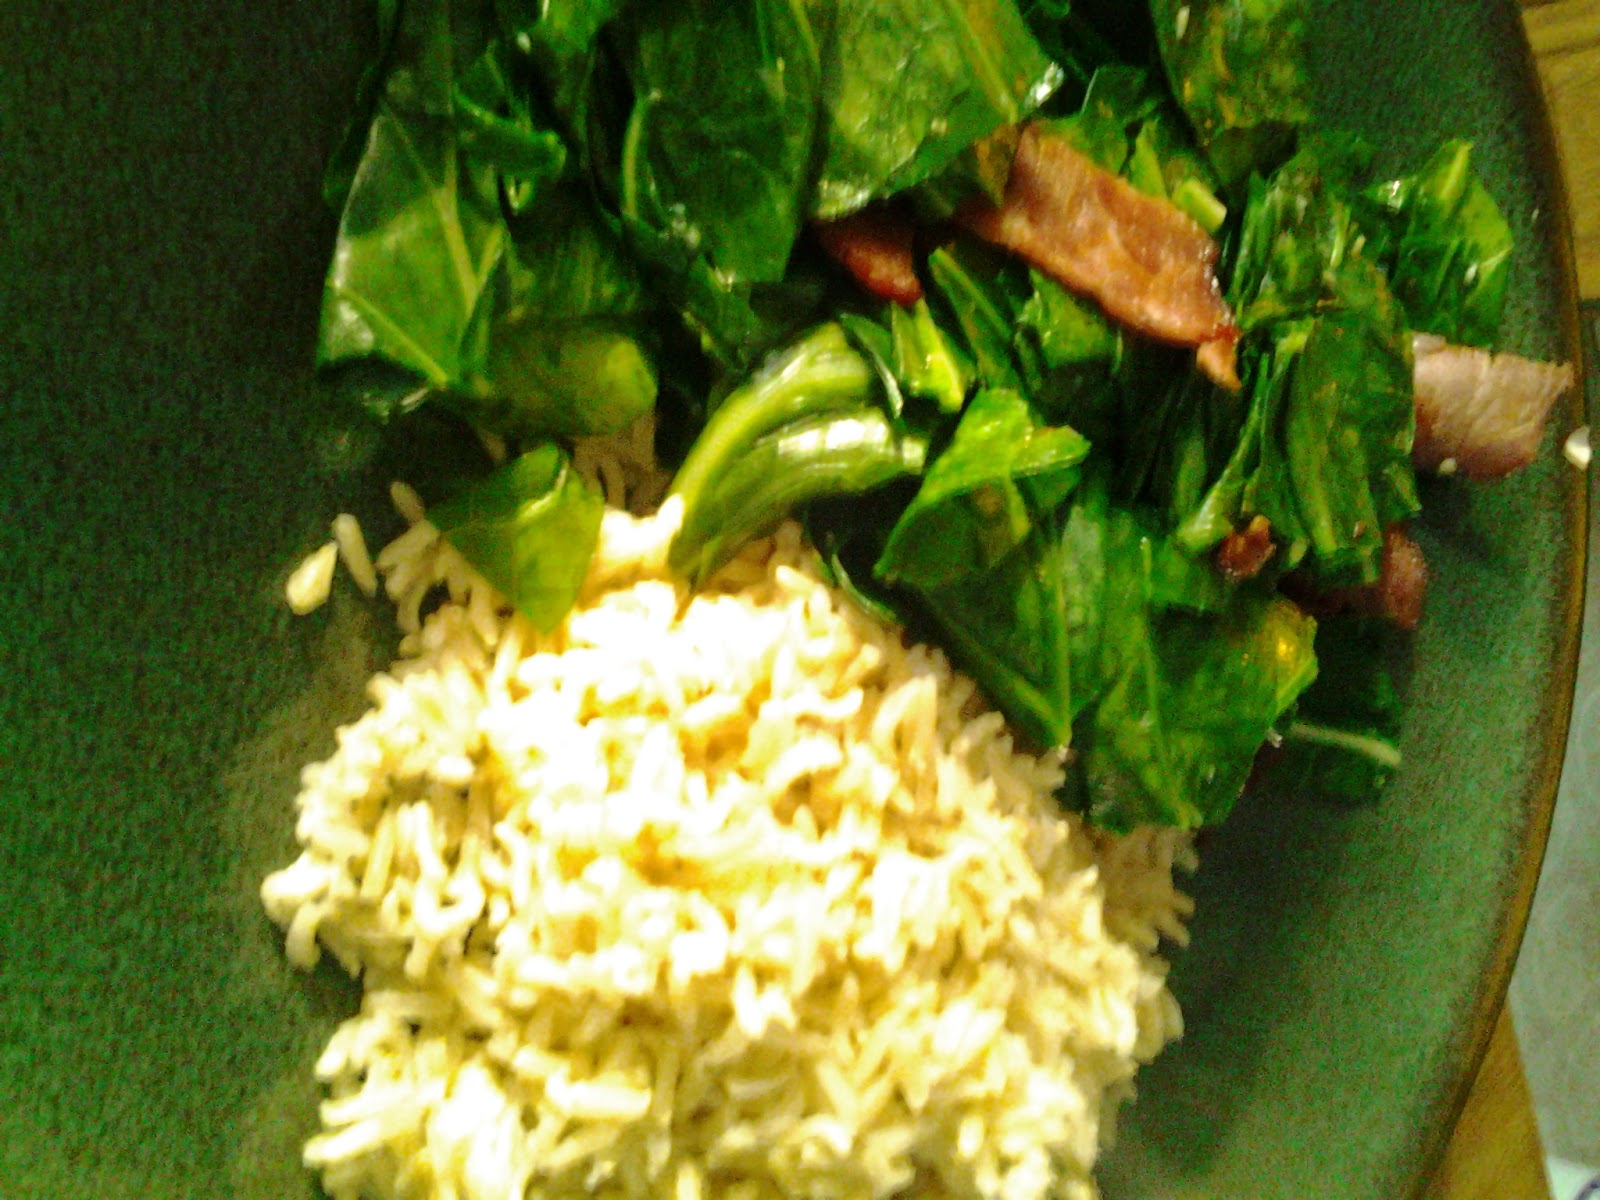
Serve alongside your favorite whole grain
(brown basmati rice shown here.)
 

This is a quick, delicious, and nutritious meal. 

Bon Appetit!
Tamar
 
 
*all photos property of Aliment Blog, Copyright 2012


Friday, September 21, 2012

Donal Skehan

Donal Skehan, self-taught home cook, photographer, writer and truly one of my kitchen heroes, hosts a television show in Ireland, has several cookbooks and shares recipes, from sweet to savory, regularly on his blog.

I have several favorites from his site and cookbooks, but one that I routinely return to and even have memorized (gasp! shocking only because I can hardly remember what I did last week) is his Mushy Roast Garlic and Cherry Tomato Pasta.


Something is missing! Oops- forgot the garlic. 


This recipe is a family favorite and as easy as can be to prepare. I also find it is a great substitute for those occasional macaroni and cheese or pizza requests. The roasted tomatoes and cheese are the gorgeous older sister to pizza sauce and have that authentic and sophisticated Italian flavor and the pasta fits the "macaroni" requirement. So there you go! This dish is a nice balance of comfort food and classed-up meal.


Ordinarily I serve with a more elegant pasta variety, but it was kid's choice for dinner. And we were feeling a bit whimsical.


I sliced and peeled my garlic. Keeping it as is (like the recipe says) is great too, but I had just under a bulb, so I went at it. Toward the end of the roast, I add some fresh basil to the pan.


Mush and squoosh.


 Toss, top and enjoy.

When I'm feeling decadent I serve it alongside Donal's recipe for garlic bread, which is hands down my favorite.

Bon Appetit,
Deirdre

Friday, September 14, 2012

Creamy Caramel Dip

Yes...I am still going on about the apples. This afternoon I was hankering for something sweet and a little salty and kinda healthy, but still indulgent. I'd read a few recipes for Caramel Apple Dip and Cookie Dough Dip and wanted to marry the two into a tasty treat.

After satisfying myself with a few bites I offered this platter to my kids and their friends and it was declared a winner! Seconds were requested and they actually knew what the ingredients were.

Not too shabby mama, not too shabby.


Creamy Caramel Dip


By Deirdre
Prep Time: 3 hrs (soaking)
Cook Time: 5 minutes (mixing)

Ingredients (About 2 cups)
  • 1 cup of Medjool dates (no pits)
  • 1 cup chickpeas (cooked)
  • 1/4 cup nut butter (I used almond)
  • 2 tsp lemon juice
  • 1/2 tsp salt
  • 1/4 cup vanilla
  • Soaking water (warmed)

Instructions
1. Soak dates in warmed water for about 3 hours (or up to 4 is ideal)
2. Remove dates from water, but reserve water.
3. Add dates and chickpeas to food processor. Pulse.
4. Add other ingredients except water. Pulse again.
5. Slowly add water about 1 tablespoon at a time and blend until nice and smooth. Be sure to scrape down sides so everything gets incorporated.
Store in sealed container for up to five days.

Powered by Recipage

Monday, August 20, 2012

Tamar's Spicey Kale Chips

     In the mood for a crispy, light, salty snack? Beautiful, delicious, versatile and nutritious kale can be prepared to deliver all that plus a powerful nutrient punch! This easy peasy recipe had quenched my cravings and had me snacking greedily all weekend long without any post binge guilt (who can feel guilty for binging on kale???) Yummmmm. Try it and Enjoy!

Copyright, Aliment 2012

Below is a pictorial run-down of the super easy process. Kale is so easy to dress up with any flavors you are craving, mix it up, experiment, have fun, enjoy!!

Copyright, Aliment 2012
Bon Appetit!
Tamar

Monday, August 6, 2012

Tamar's Bruschetta Nouveau

Aliment, Copyright 2012
     While experience can be thanked in large part for the development of my culinary intuition, necessity (the mother of invention) deserves an honorary mention. I have a large family, as modern families go, and we live on a tight budget, creativity is required in order to keep our palate's from falling into a slump of monotony while using whatever we have on hand rather than buying the perfect/classic ingredients for any number of recipes.

     In the spirit of Culinary Intuition, I will share with you today my very own Bruschetta Nouveau. This recipe came about without any planning whatsoever...I simply had a tomato and a couple of interesting Lemon Cucumbers from my sister-in-law's garden that I needed to use before they went bad. My mother-in-law had recently dropped off a delicious loaf of tuscan garlic bread. Yesterday was a particularly hot and muggy New England day, with tomato and cucumbers in hand it didn't take long for my brain to make the leap from "I should use these up" to "Ahhhh...cool, tangy, refreshing bruschetta...it's been too long!" especially once I noticed that loaf of bread on my counter. In the past I would never have thought of putting cucumbers in bruschetta and I would have fretted over not having any fresh basil. I tended to stick to recipes in their exactness for fear that my own instincts were not sharp enough to lead me down a yummy road, I needed a recipe to help me navigate my way to deliciousness. The only bruschetta I'd ever had (until I made my own yesterday) was made with red onion, garlic, tomatoes, and fresh basil. Simple and delicious yes, but not the only way it can be done. I don't have that fear I mentioned any more, I spend much more time saying things to myself like "cucumbers in bruschetta...why not? No basil? Who cares...I have fresh cilantro, that could work. Let's shake things up!" And you know what? My time in the kitchen is much more fun, less stressful, and I'd venture to say...more delicious than EVER.

      ....So that is why I want to say to you, dear reader, before you make this (or any other recipe) especially if your attitude in the kitchen is currently much like my former one: Have no fear. Shake things up! Even as you look over my recipe, remember...you don't have to stick to it! Get creative, use what you have on hand. There's no need to break the bank, or waste your time running all over town trying to pick up the exact "right" ingredients. Besides, in my research I have found that there really isn't an exact "right" recipe for bruschetta, it is very malleable and chef's have created many variations on the theme. While there are certain "temperamental" dishes (that's what I call them any way) that should be carefully prepared one way in order to do it right (pastries like croissants and scones come to mind) there are loads and loads of dishes that are easy going, flexible types for those of us who may not be trained chef's but are willing to get in the kitchen and take some chances...life's too short and foods too awesome to waste time stressing over something that is meant to be truly enjoyed.
   
     Now that my pep talk is out of the way...the recipe:

Aliment, Copyright 2012


1. One large tomato--chopped
 
2. Two small cucumbers--diced

3. Two small onions, one rib celery,  
six garlic cloves--coarsely chopped

4. Generous drizzle (in equal parts) of 
chili infused olive oil and red wine vinegar

5. Fresh cilantro, dry oregano, 
salt and pepper--to taste

6. Place all ingredients in a 
2 qt jar--Shake! Shake! Shake!

7. Garlic bread slices topped with  
shredded mozzerella-provolone blend
--broiled until golden  

8. Serve one on top o' the other. This pairs well 
with Trader Joe's "Charles Shaw Chardonnay" (a.k.a. "Three Buck Chuck" white wine)

     Although bruschetta is normally served as an appetizer, you should know by now that I am not one for rule following. I ate...Four. Large. Slices....for dinner last night. It was to die for. So delicious!! It should also be noted that I prepared the veg around noon and then refrigerated it until dinner time, which allowed the flavors to blend really well. Let me know if you make it, and if you vary the recipe I'd love to know what you tried. I would say let me know if  you liked it...but that's a given, I know you will!
 Bon Appetit! 
Tamar 
Aliment, copyright 2012


Friday, July 27, 2012

Chocolate Chip Cookie Dough & Peanut Butter Chillers


These inside outside-upside-downside chocolate chip cookie dough and peanut butter dip chillers came to me as an inspiration on a warm summer day when ice cream was requested, but the freezer was (gasp!) empty.

When I was a kid I would eat cookie dough by the roll. You know the roll I am referring to. The blue one with the cute and seductive rolly-polly little fella on the package that practically shouted, "Eat Me!" and not in a snarky thirteen year old way. But in a just disregard the warning for salmonella written in itty bitty writing and have a taste of raw cookie dough. Only it wouldn't stop at just a taste and would result in half the roll sitting in my then queasy belly.

I've grown up and heed those warnings to avoid raw eggs, but I still love cookie dough and have found some great egg-free cookie dough recipes. I often use egg replacer or a flax egg. My family shares my fondness for all things cookie: raw or cooked and so we often bake up a batch, but when it's hot out the oven is the last thing you want to crank up to 350 degrees.

When there is no ice cream, Popsicles or any other manner of refreshing sweet, you invent...and here I married cookie dough and another of my family favorites: peanut butter.

Inside..

Outside...


Upside-down-side


Chocolate Chip Cookie Dough & Peanut Butter Chillers
by Deirdre
Prep Time: 15 mins
Cook Time: 1 Hour Chill time plus Freezer


Ingredients (1 dozen)
  • Cookies:
  • 3/4 cups butter or butter alt
  • 3/4 cups powdered sugar
  • 1/4 cup granulated/cane sugar
  • 1/2 tsp salt
  • 1 tsp baking powder
  • 1/2 tsp baking soda
  • 1 tsp vanilla
  • 1 cup all purpose flour
  • 1/2 cup wholewheat pastry flour
  • scant 1/2 cup milkor milk alt
  • 1/2 cup chocolate chips
  • PB Shell:
  • 3 tbsp butter or butter alt ( I hear coconut oil works well, but haven't tried)
  • 1/3 cup peanut butter
  • I've made these several times and want to caution to bite carefully! Don't break a tooth!

Instructions
1. Bring butter (or butter alternative like earth balance margarine) to room temp or warm for thirty seconds. Using an electric mixer incorporate sugars and butter. Then add vanilla and mix it up, scrapping down the sides.
2. Add baking soda and powder and salt. Mix well.
3. Add flours then slowly mix in milk (or milk alternative like almond milk) in thirds until mixture comes together to form a dough. I found that just a hair under a 1/2 cup was ideal.
4. Add chips and mix.
5. Put bowl in refrigerator for 15-30 minutes to chill.
6. Toward the end of that time prepare a cookie sheet with waxed paper. And measure out peanut butter and butter and set aside in a microwave safe bowl or in a small saucepan.
7. Roll a generous tablespoon of dough into a ball using hands until all dough is used.
8. Warm peanut butter and butter (I found about 45 seconds to a minute in the microwave worked.
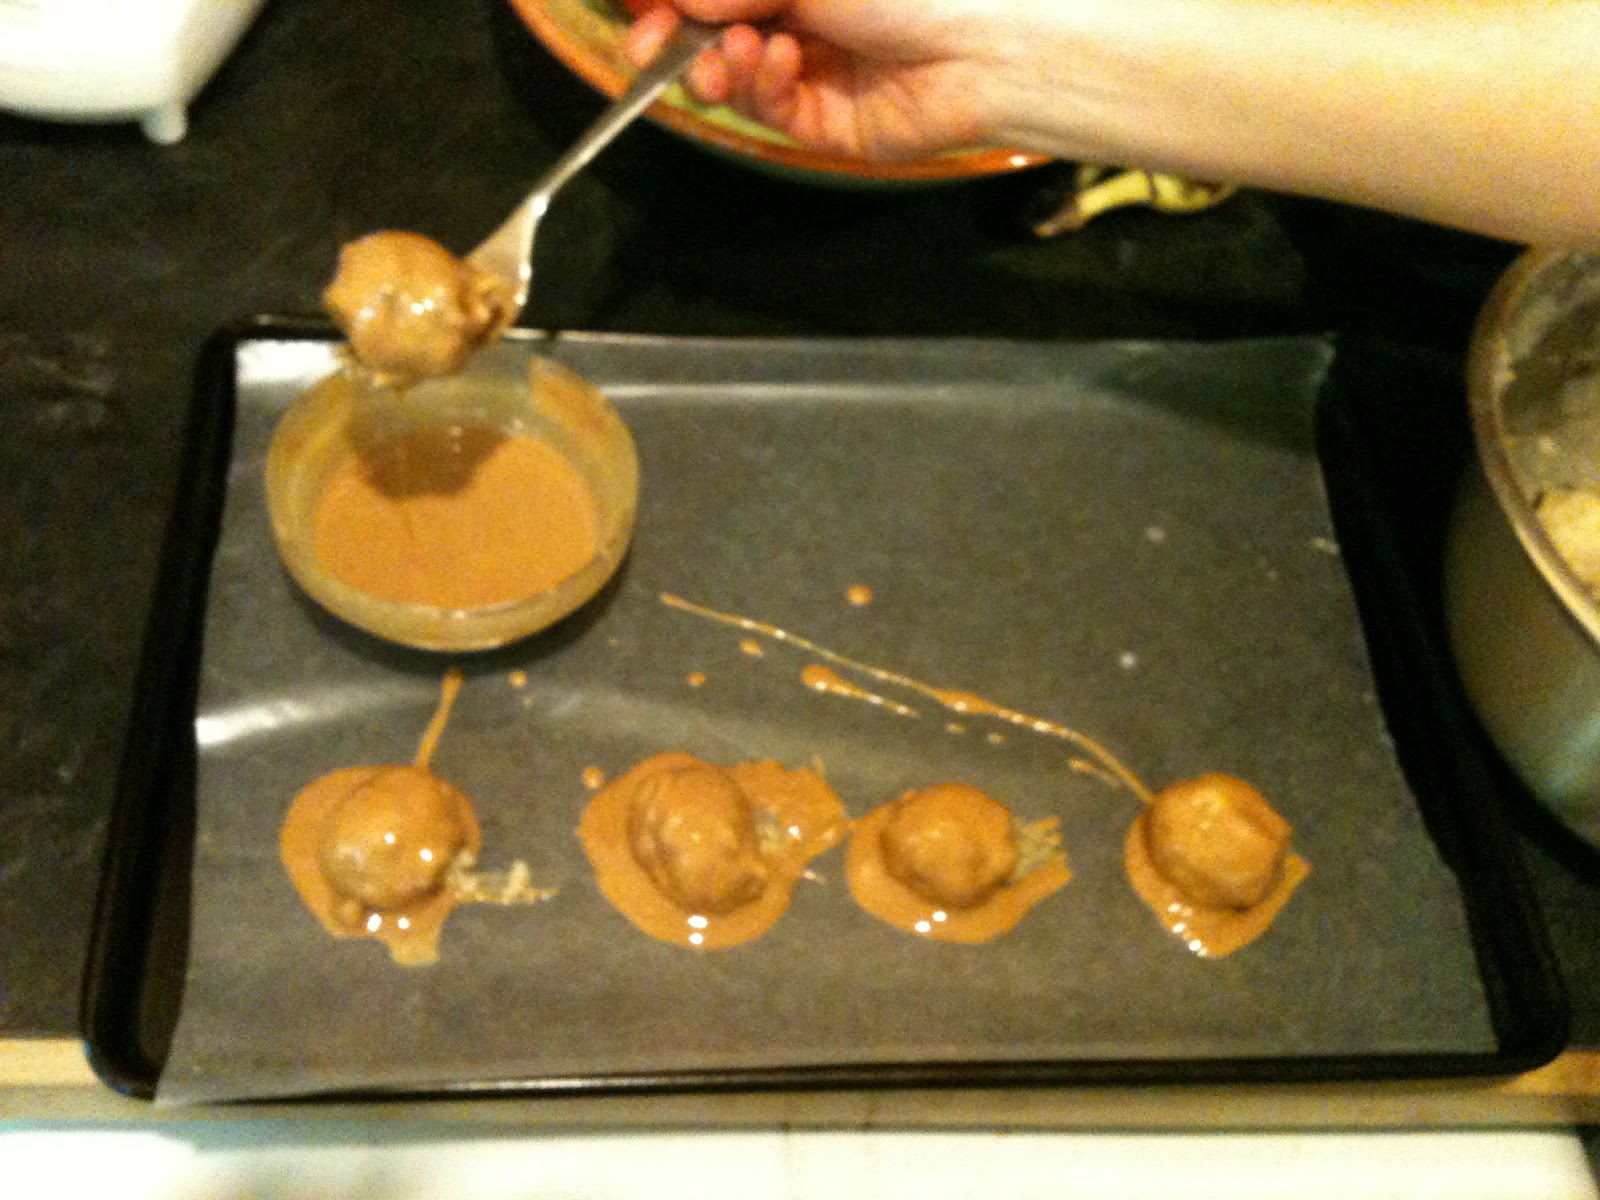
9. Working quickly (use a fork) dip balls in pb&butter mixture and set on waxed paper atop cookie sheet.
10. Place in freezer to set for at least a 1/2 hour. Remove and enjoy- quickly! Or keep in a sealed container in the freezer for a couple weeks.

*the cookie dough is a variation on several vegan cookie dough recipes I've found, combined and adapted but you can use your favorite.

Powered by Recipage


Bon Appetit!
Deirdre

P.S. I'll say it again (mostly because I'm a mom and we say these kinds of things) bite carefully! I am not responsible for your teeth!

Wednesday, July 25, 2012

WIAW--Clean Eats w/ Tamar


It's time for another WIAW with our hostess with the mostest, Jenn at Peas and Crayons. Read on for an explanation of my food collage...

Aliment, Copyright 2012

 Breakfast:
While attempting to eat a cleaner diet, my breakfasts these days are pretty simple, but they pack a powerful energy and nutrition punch! I usually start the day with freshly juiced veggies and then I nosh on some raw organic fruit, like the apples shown above which I got in a six pack on the discount produce rack!! Can you believe it? And the fruit was still perfectly fresh and delicious!

Lunch:
This was so delicious...I almost can't even handle it. Yum!!!! I made this meal on a whim with some random things I had on hand-- it blew my mind. The recipe is easy peasy...

Coconut Curry Medley

by Tamar
Prep Time: 2 min
Cook Time: 5 min
Ingredients (serves 4)
  • 1 can Organic chick peas
  • 1 can stewed tomatoes
  • 1 can Pineapple chunks
  • 1 clove garlic, minced
  • 2 Tbs Coconut oil
  • 1 tsp yellow curry powder
  • pepper, to taste
Instructions
Heat coconut oil over medium heat. While heating, open and drain all canned foods. Add minced garlic to pan and heat until fragrant. Mix in chick peas, tomatoes, pineapple and curry. Stir to combine. Let simmer over medium low heat until heated through. Serve atop brown rice, add pepper to taste.
Powered by Recipage

Dinner:
I used my home-made BBQ sauce (recipe will be shared next week!!) to coat some white beans which I ate over brown rice and a whole bunch of kale. Mmmm. I am inlove with Kale...leafy green veg packed with chlorophyll and energy boosting goodness...so sexy

Fitness:
You can't eat this well and not treat your newly energized bod to an amazing workout too...lately, I have been treating myself to these fantastic mini workouts from my new fave yoga instructor, Tara Stiles. Check her out here or on You Tube. Here's a sneak peek...


Bon Appetit! 
Tamar

Friday, July 20, 2012

DIY Dreamsicle-Creamsicles

Just when you think your kids might just melt from the heat try making (then eating!) this refreshing smoothie-creamsicle hybrid we call a Dreamsicle. With two kids I had two tastes: one tropical, the other, height of summer berry. Both were yummi-liscious. For detailed recipe please scroll all the way down.


Simple ingredients for the Berry...


Ingredients for the Coconut-Kiwi-Lemon


If you do not have popsicle molds you can use plastic spoons and cups (these are small.)


Blend yo' berries!


Place the spoon in the center of the cup then pour in the mixture. Doing it the other way around will displace the liquid then your child might think to lick it off the counter. Probably not a good idea.


Blend some more.

  
Arrange on a baking tray. Place in the freezer. After about twenty minutes carefully shift any crooked spoons to the center. Then freeze again.


Enjoy!


And enjoy some more.


Green Tip: The cup should come right off, if not place a warm hand around it for a few moments then remove. The cups can be rinsed and reused for water or craft projects.


Very Berry Dreamsicle
by Deirdre
Prep Time: 5-10 Minutes
 Freeze Time: 3 Hours
Ingredients (5-6 small)
  • 1 Banana
  • 1 Cup Mixed Berries (I use Trader Joe's Frozen)
  • 1 Cup Water
  • 1 Cup Ice Cream or your favorite non-dairy substitute

Instructions
Toss everything in the blender except the banana peel, whiz, then after placing a spoon into each cup, pour the mixture in evenly right up to the rim. Place on a baking try and carefully place in the freezer.
After 20-30 minutes straighten the spoons so they are in the center then continue to freeze for three hours or overnight. Toward the shorter time they were like Italian Ice....toward the longer side they were perfect Popsicles.
Best enjoyed on a hot summer day.
Powered by Recipage


Coconut Kiwi Lemon Dreamsicle
by Deirdre
Prep Time: 5-10 minutes
Freeze Time: 3 hours
Ingredients (5-6 small)
  • 2 Bananas - peeled
  • 2 Kiwis - peeled
  • 1 Tsp Lemon Juice
  • 1 Tbsp (or more!) shredded coconut
  • 1 Cup SoDelicious Coconut Milk Frozen Dessert
  • 1 Cup Water
Instructions
Pop everything into your blender and mix.
Then (with help or if like me you have two extra hands) place the spoons into the cups, pour an even amount of the mixture into each then place each cup on a tray for their future in the freezer.
After about 20-30 minutes setting up, carefully adjust the spoons so they are in the center of the cup. Then freeze for up to 3 hours or overnight.
We could hardly wait so our first batch was eaten more as a slushy out of the cup, but the next day they were perfect pops.
Powered by Recipage

Bon Appetit,
Deirdre


<

Friday, June 22, 2012

Gone Bananas Monkey Bread

We are a household of banana eaters, one or more a day for each of us, so when I scored half a case of organic-fair trade bananas for $3 I jumped up and down like a happy monkey.


But what to do with that many bananas? We made smoothies, breads, pancakes, ate them straight-up, froze some and made a few batches of banana soft-serve. Look for that recipe here soon! But there were still so many and they were in danger of passing their peak.

We checked out 100 banana recipes here, but wanted to come up with 101.
So my little monkeys and I strapped on our thinking caps and came up with Gone Bananas Monkey Bread.

Here is how it went...Scroll all the way down for a printable version of the Cook's Illustrated recipe we adapted a bit.


Ingredients assembled.


Add yeast to water, milk and butter mixture...for a truly tropical taste, I used coconut milk and let it do it's thing.


Meanwhile measure flour and salt. Mix.


Combine wet and dry.

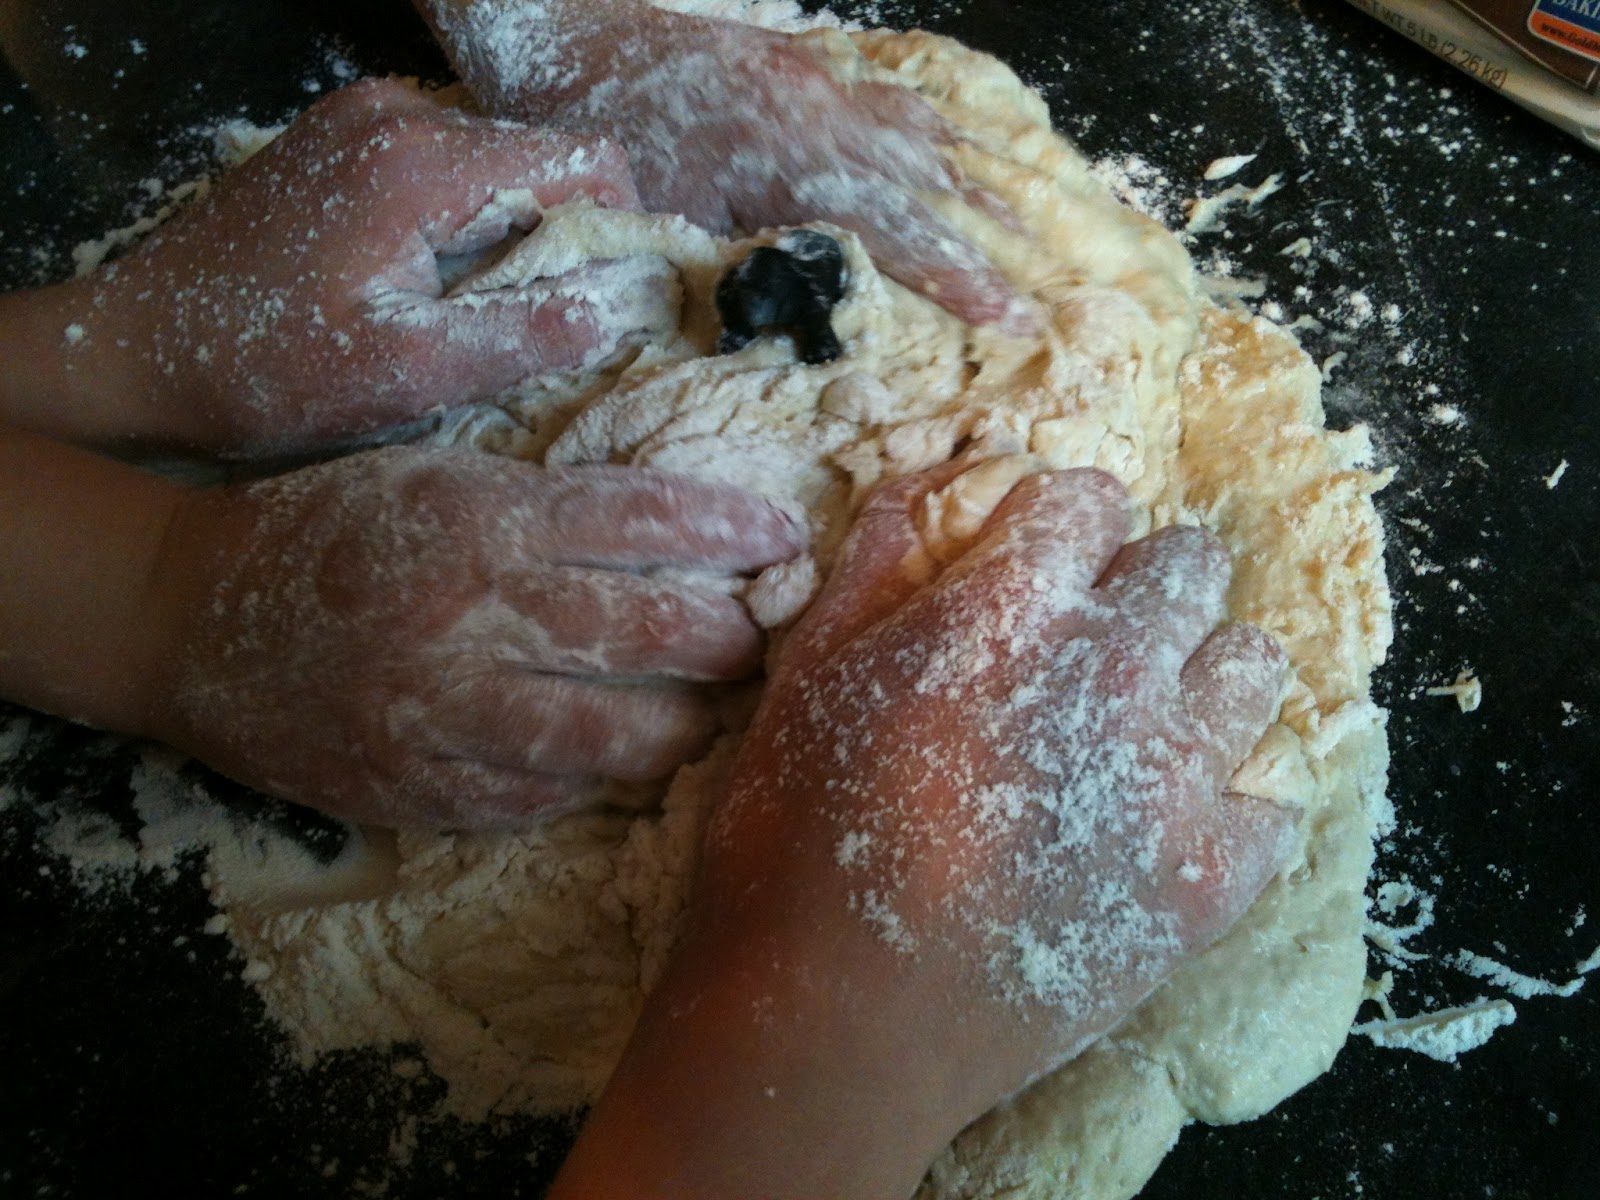
Knead away.


Cover with plastic wrap or a damp towel and let rise.


Meanwhile mash a couple bananas and let 'em ripen some more.

Assemble ingredients for dipping sauce, including ripened bananas, melted coconut butter, brown sugar and a sprinkle of cinnamon.


When dough is done rising roll pieces into one inch balls, dip, coating thoroughly and place in greased pan.


Sprinkle with coconut and nuts (if desired.)


Bake, cool and...


Glaze...


 Then enjoy!!!


Gone Bananas Monkey Bread
by Deirdre
Prep Time: Approx.2 1/2 hours (rise time)
Cook Time: 35 minutes
Ingredients (Serves 4 gorillas or 8-12 Capuchins)
  • For Bread:
  • 1 cup of coconut milk (or regular milk - warmed to about 100 degrees F)
  • 1/3 cup of water (warmed to about 100 degrees F)
  • 4 tbsp coconut butter or regular butter -- melted
  • 2 1/2 tsp yeast (or one packet)
  • 1/4 cup granulated sugar
  • 4 cups all purpose unbleached flour (plus more for kneading)
  • 1 tsp salt

  • 1 cup shredded coconut
  • 1 cup walnuts or macadamia nuts Optional
  • Spray or butter for greasing pan

  • Dipping Sauce For Bread:
  • 1/2 cup coconut butter or regular butter (or blend) -- melted
  • 2 very ripe bananas - mashed
  • 1/4 cup brown sugar
  • a few sprinkles of cinnamon

  • For Glaze:
  • 1/2 cup confectioners sugar
  • 1 tbsp coconut milk
  • 1/4 cup shredded coconut
Instructions
In a glass measuring cup eat milk and water to about 100 degrees F (in microwave or if using stove top use a pan.) Melt butter and add to mixture. Be sure temperature isn't over 110 F.

Add sugar and yeast to mixture. Stir and let it do it's thing for 5 to 10 minutes.
Meanwhile in a large bowl (or if you're lucky enough to have a stand mixer in it's bowl) mix flour and salt.

Then form a well in the flour and combine the two with a wooden spoon until somewhat stiff and incorporated. Mix with a stand mixer or if kneading be sure to add flour to keep the dough from sticking. Knead for about 7 minutes or until a soft and smooth dough forms.

Place in a greased bowl, cover with plastic wrap or a warm clean towel and let it rise in a draft free place for about 1 hour.

Remove from bowl, break pieces into bite sized balls (approx 1 inch diameter) dip each in dipping sauce and place in greased bundt pan (or similar pan) overlapping each ball so a nice dense bread/cake is formed all the while sprinkling coconut and nuts if desired into crevices.

Cover like before and let rise 1 more hour.

Then bake in an oven preheated to 350 F for about 30-35 minutes or until golden.

Allow to cool in the pan for about 5 minutes, Turn out onto a platter and allow to cool another 10 minutes.

Meanwhile combine glaze ingredients and mix up then pour over the top, serve warm and enjoy!
Powered by Recipage

 From my monkeys to yours-
Bon Appetit,
Deirdre